# Setting up a PiVPN on Raspberry
{% hint style="danger" %} Disclaimer — Educational Use Only and Liability LimitsThe procedures and information described in this article are provided for**educational and personal research purposes only**.\ They are intended to help readers understand, configure, and manage a secure VPN using PiVPN in a controlled, private environment.\ Improper network or firewall configuration may lead to connectivity loss or exposure of private data.\ The author does not accept responsibility for any direct or indirect damage, data loss, or service interruption resulting from the use of this guide.
{% endhint %}
PiVPN is a simple installer that configures WireGuard or OpenVPN on a Raspberry Pi.In this guide, we will use PiVPN, a lightweight, fast, to enable encrypted connections from outside your home network.
{% hint style="info" %} With this method, we’ll configure a VPN **quickly and easily** on a Raspberry Pi — a solution that **anyone can replicate** without advanced networking skills.\ On the next page, we’ll explore how to configure WireGuard or OpenVPN **manually**, without relying on PiVPN.
{% endhint %}
**Prerequisites and Hardware**
To implement PiVPN, we would need:
* A Raspberry Pi with the Raspberry Pi operating system installed (the Lite version is recommended).
* A reliable Internet connection (preferably Ethernet).
* Administrative access to the router (We will use these later for port forwarding).
* A device for VPN access (phone or computer).
**Installing PiVPN**
We will start by installing the Raspberry Pi Imager tool.
After installing it, we need to:
1. Select the operating system for our Raspberry model. After selecting the operating system and SD card, we need to set up:
* Set a hostname (e.g., `pihole`).
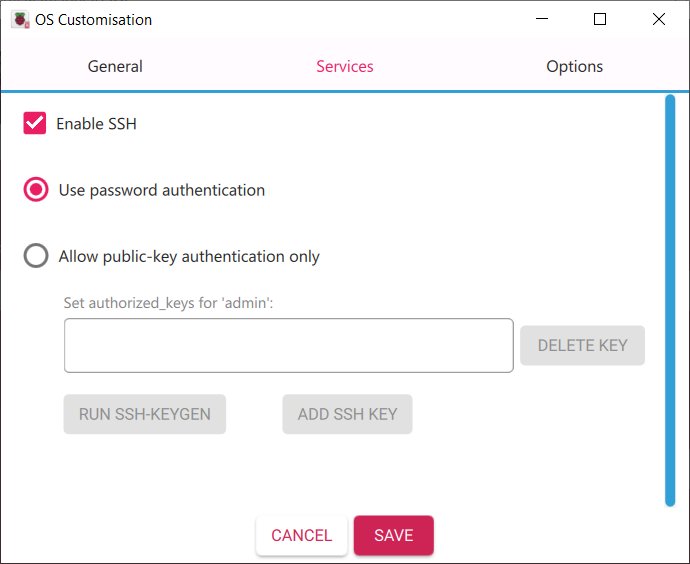
* **Enable SSH** for remote administration.
* Configure Wi-Fi credentials (if not using Ethernet).
* Set a username and password.
After that, we will wait for the process to finish and then we can turn on our Raspberry.
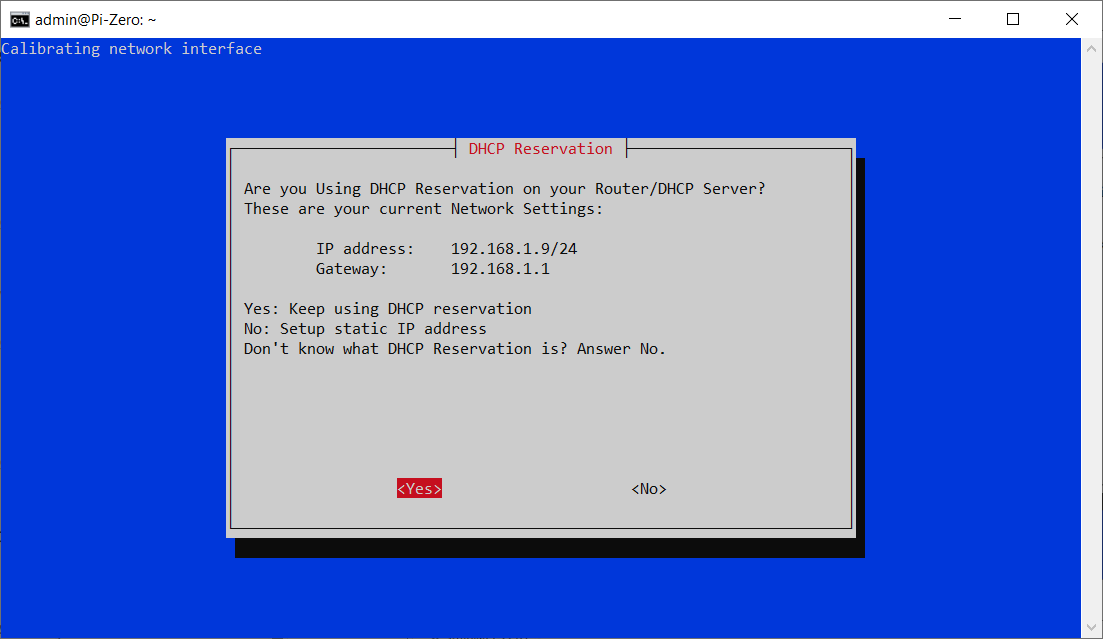
Our newly turned on Raspberry will be in **DHCP mode**, meaning that it will take an IP assigned by the router for a time-lease (i.e. a variable period of time) and this means that it will change in the future. **How can we prevent this value from changing?** There are two options (in both cases, we will assign a static IP):
1. In the **first case**, we would set a static IP outside the DHCP Range Pool, i.e. the range in which the router automatically assigns IPs.
2. In the **second case**, we would set a Reservation inside the DHCP Range Pool, making sure that the DHCP will never assign the IP that we have excluded with the Reservation.
`(To make these changes, you will need to connect to the router with administrative permissions to view the DHCP address pool and make the reservation, while the static IP address must be assigned by the Raspberry once chosen).`
Now the question is, **what is the difference between the two**?
The difference is that a **reservation** maintains the entire network configuration managed by the router, avoiding possible IP conflicts. By reserving an IP, the router always assigns the same address to the Raspberry based on its MAC address, ensuring stability while continuing to use DHCP.
Setting a **static IP** outside the pool, on the other hand, depends entirely on manual configuration and can cause conflicts if the network configuration changes or if another device accidentally uses the same address. For this reason, reservation is usually the safest and most reliable option.
Now, to find the Raspberry, I scan my local network to see what is assigned to the Raspberry.
**`Tip`**`: You can use tools like nmap, Fing, or Advanced IP Scanner to quickly identify devices connected to your LAN. Or simply connect to tour router, where you can usually view this information.`
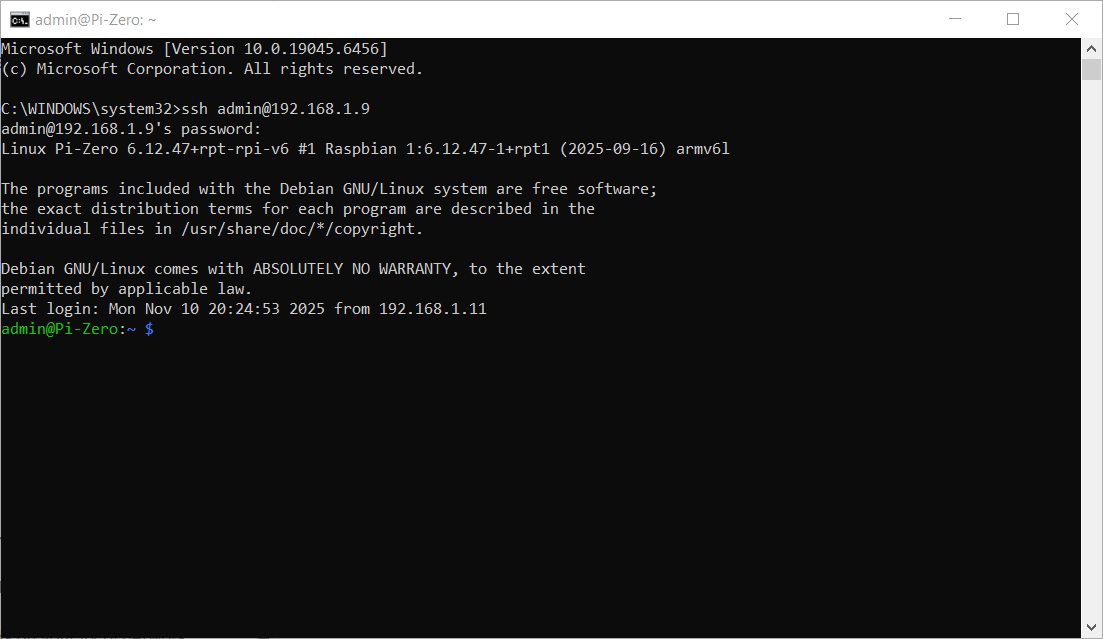
Now we need to connect via SSH. To connect via SSH, we can use the prompt (or PowerShell if we want to use autocompletion), or we can use PuTTY.
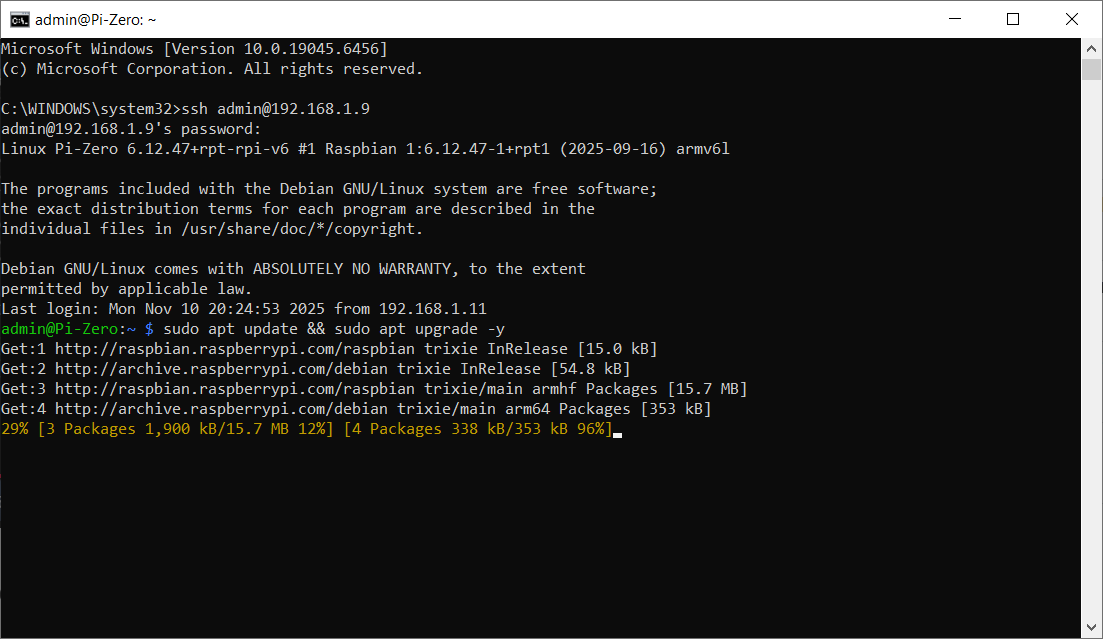
But before installing PiVPN, update your Raspberry Pi:
```bash
sudo apt update && sudo apt upgrade -y
```
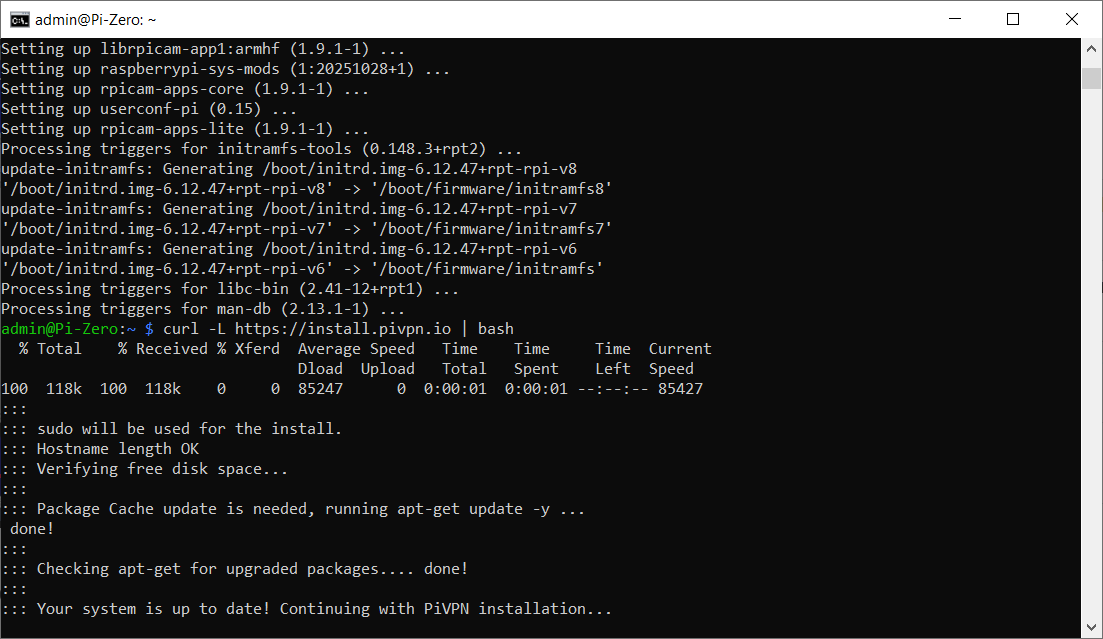
After that, we can proceed with the installation:
```bash
curl -L https://install.pivpn.io | bash
```
Once the installation program has started, a series of configuration screens will appear asking you to:
* Accept the terms and conditions
* Configure a **static IP** (via DHCP reservation or manual assignment)
* Select the user account that PiVPN will use, in this case the administrator account created previously
In addition, there will be a series of pages where you will only be asked to select ‘**OK**’, so they have not been included as they are standard configurations and cannot be customised.
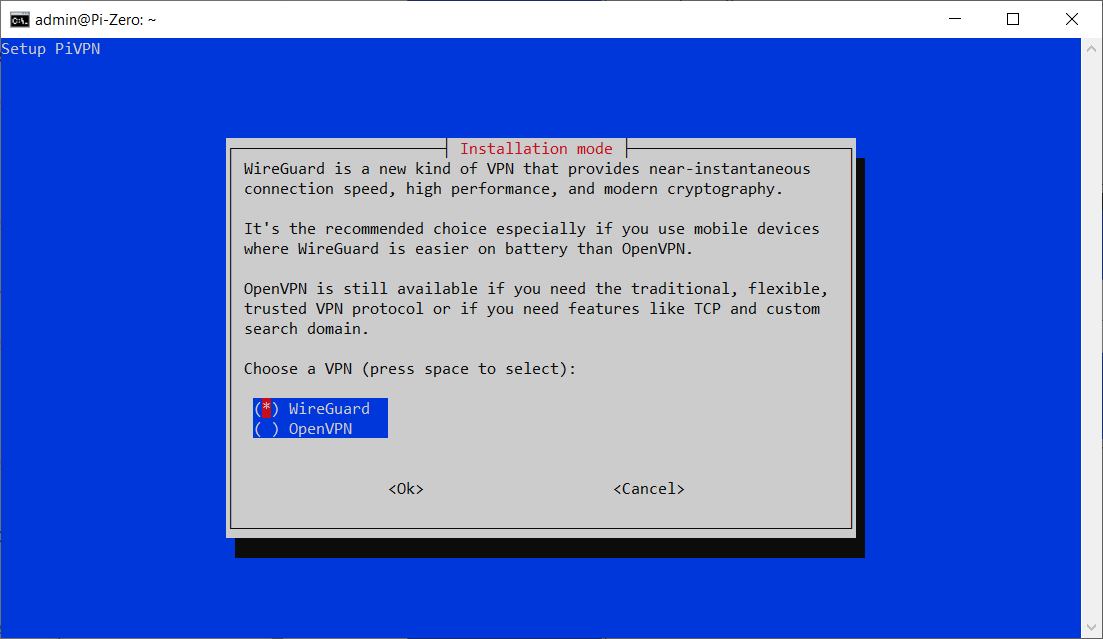
Depending on your needs, you can choose to use **WireGuard** or **OpenVPN**. (In my case, I set up the VPN using WireGuard.)
But why choose one over the other? **WireGuard** is preferable when speed and simple configuration are required: its lightweight code ensures high performance even on hardware such as the Raspberry Pi. **OpenVPN**, on the other hand, is a better choice when flexibility and the ability to operate even in restrictive networks are required, thanks to TCP support and port 443.
In practice, WireGuard is ideal for modern, high-performance use, while OpenVPN is more suitable for complex scenarios or older devices.
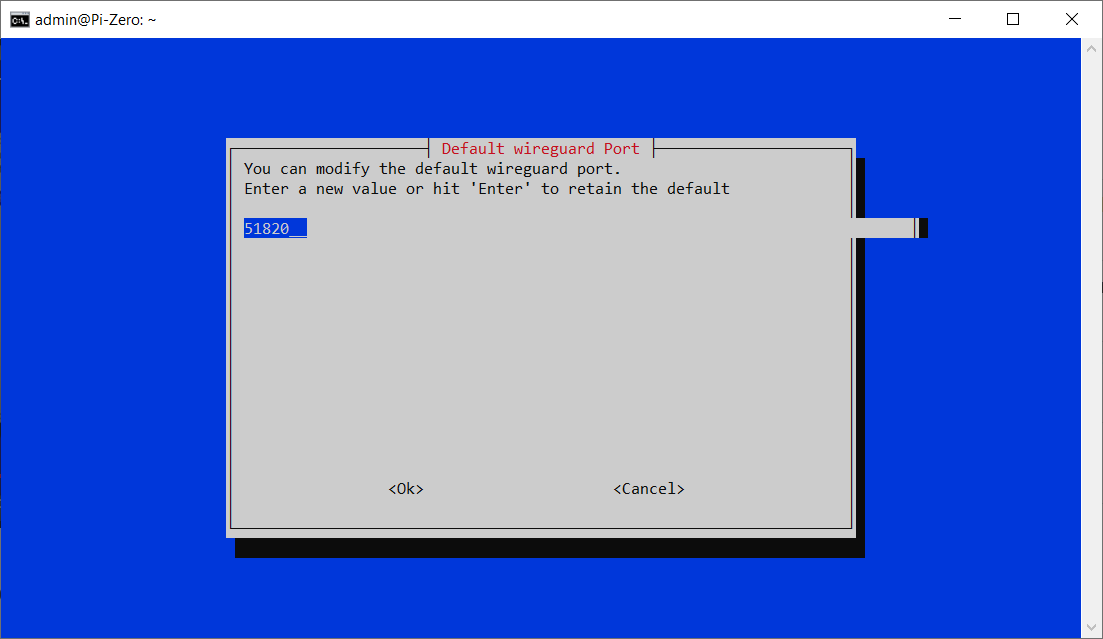
When prompted for the **VPN port**, leave the default `51820` or select a different one if needed.
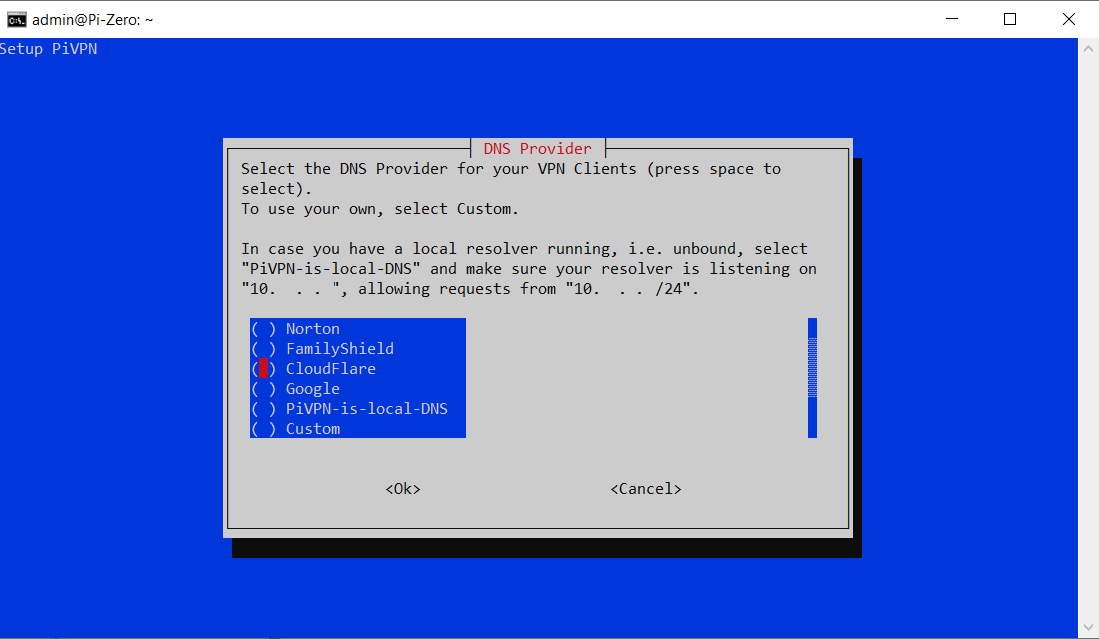
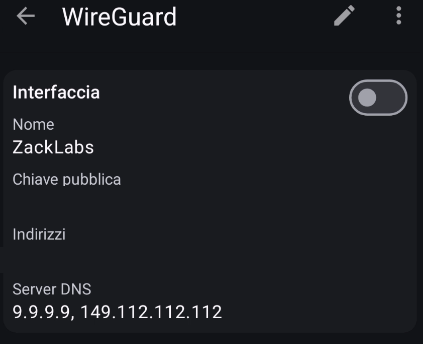
Next, we need to select our preferred DNS provider: in this example, I have chosen **Quad9**, but you can use any reputable provider.
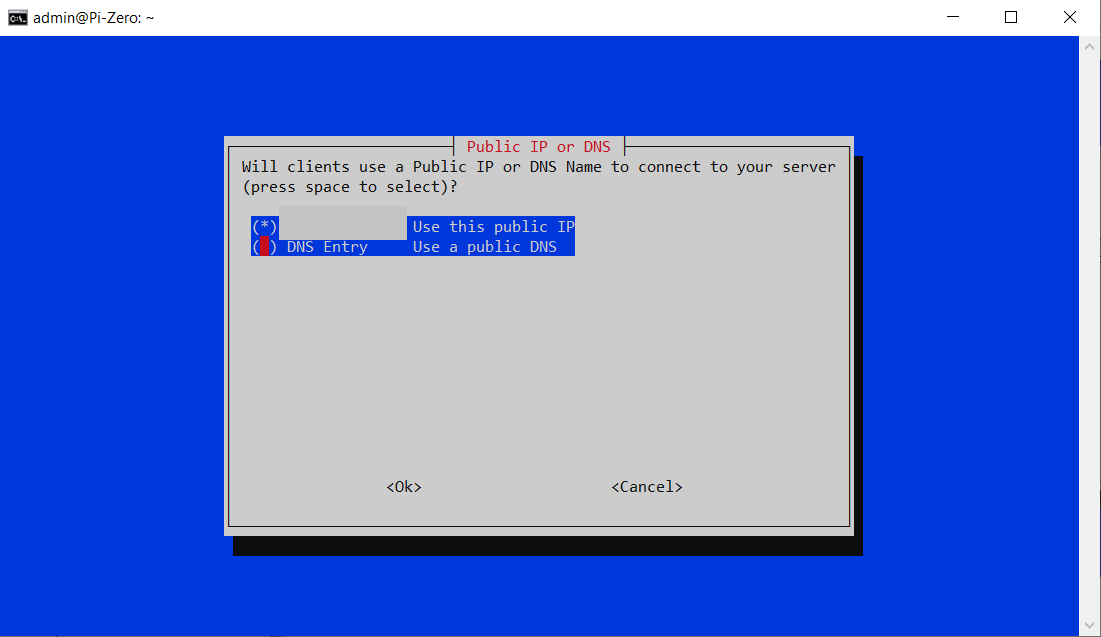
If your ISP provides a **dynamic public IP**, you can set up a dynamic DNS service (e.g., DuckDNS, No-IP) to keep your VPN accessible from outside your network.
\
If you have a **static public IP**, simply enter it when prompted.
**Client Setup**
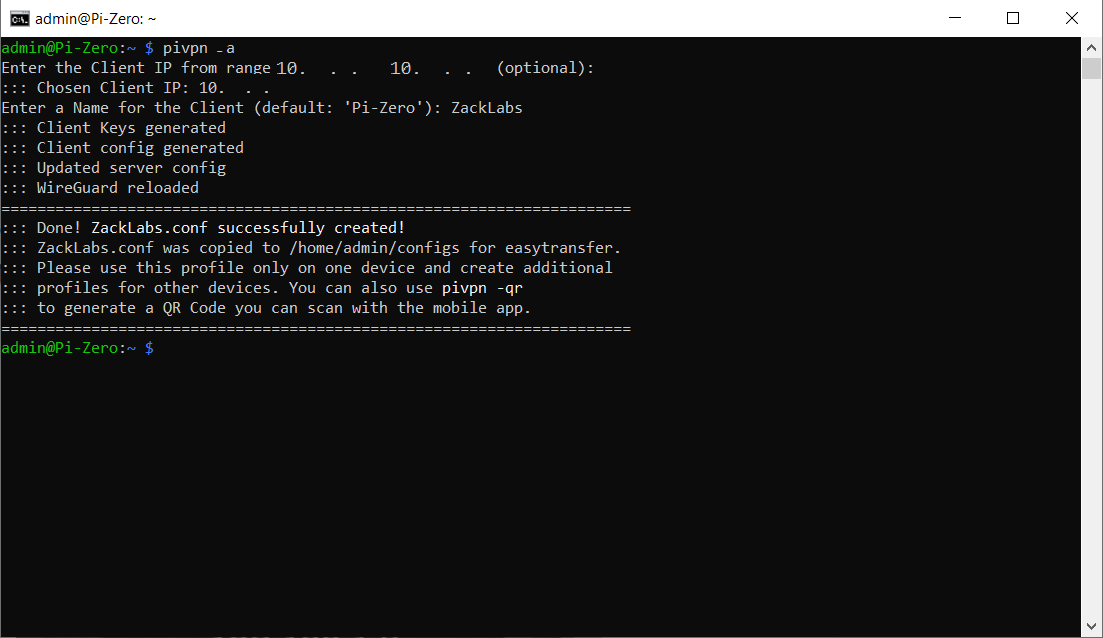
Once the installation is complete, we can create a client configuration:
```bash
pivpn add
```
You will be asked to enter a name (e.g., phone or laptop).
\
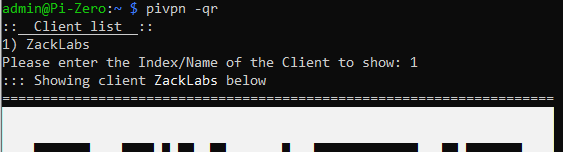
PiVPN will generate both a **.conf file** and a **QR code** to facilitate configuration on mobile devices.
To scan the QR code on your phone, install the WireGuard app (Android/iOS).
\
In the app, select Add Tunnel → Scan from QR Code and scan the code displayed on the Raspberry Pi terminal.
If you’re setting up WireGuard on a **desktop**, import the `.conf` file instead:
* Connect to your Raspberry Pi using **SFTP** or **FTP** (e.g., WinSCP, FileZilla)
* Download the configuration file located in `/home//configs/`
* Import it into the WireGuard desktop app
**Router Configuration**
To make your VPN accessible from outside, configure port forwarding on your router:
* **Port:** 51820 (In my case, I left the default one, but if you have changed it, you must enter the one you have set)
* **Protocol:** UDP
***But why do we choose UDP and not TCP?***
UDP is preferable because it offers lower latency and better performance, making the VPN connection faster and more responsive. Unlike TCP, UDP does not wait for confirmation packets, reducing overhead and improving speed, which makes it ideal for WireGuard and optimised OpenVPN configurations. TCP adds reliability features such as error correction and retransmission, but these slow down the VPN tunnel. For this reason, TCP is only used in restrictive networks, while UDP is the best choice under normal conditions.
* **Destination IP:** the static IP of your Raspberry Pi (e.g. `192.168.1.9`)
Make sure your firewall allows incoming connections on that port.
**Using Your VPN**
Once everything is configured:
* The WireGuard app will show the connection status (connected/disconnected).
* When active, all your traffic is encrypted and routed through your home network.
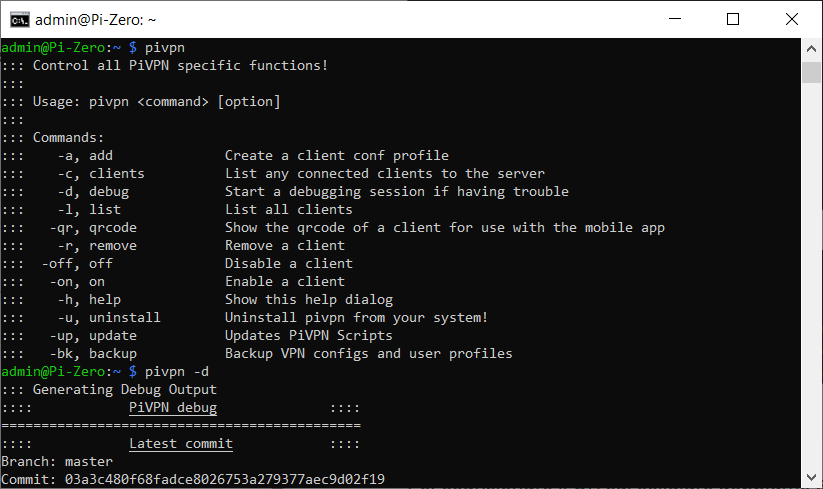
**Testing and Troubleshooting**
After connecting, you should be able to securely access your LAN and the Internet through your VPN.
\
If, despite a correct configuration, you cannot reach LAN resources (for example, you cannot ping local devices), run:
```bash
pivpn -d
```
This diagnostic command will analyze the configuration and suggest solutions for the most common problems.